Running Fedora 22 Cloud Edition Virtual Machine on Windows Azure
Windows Azure is a great cloud computing platform. Sadly the support for Fedora virtual machines is virtually zero as of today (September 2015), so we are going to change that. I’ll show you how to run a virtual machine with Fedora 22 Cloud Edition on Azure and SSH into it.
First of all you should check this link:
https://azure.microsoft.com/en-us/documentation/articles/virtual-machines-linux-create-upload-vhd/
There you can find detailed instructions which I used to setup (login into) Azure Powershell. After you are logged in to your Azure in Azure Powershell, and you have selected the correct subscription, follow these steps.
You are gonna need a Storage account for the .vhd file. Chances are you already have it, if you ever created a VM on Azure.
You are also going to need the Fedora Cloud virtual hard drive which sadly isn’t available officially from Fedora or Microsoft. But I got you covered there, since I already built mine and you can download it here:
https://drive.google.com/file/d/0B-Bo26Xjw1ecS0VQWVpGaWRaRU0/view?usp=sharing
This is Fedora Cloud snapshot from May 2015 which I created using the following excellent script without which this tutorial wouldn’t exist:
https://github.com/dustymabe/fedora-azure-img-prep
I modified it slightly (added NoCloud to datasource_list - line 83) because I had issues with logging in the VM locally and on Azure. More information here:
http://cloudinit.readthedocs.org/en/latest/topics/datasources.html#no-cloud
The script was run on a Fedora 22 Workstation. Also I resized the virtual drive with GParted so you have 20GB of space for your stuff. The default login is fedora/fedora or root/fedora so you will probably want to change that.
I used Azure Powershell since I did this from Windows 10, but you can also use Azure CLI if you are on Linux, more info in the first link on top.
So, the steps (after logging in to Azure from the Azure Powershell):
First, get your publisher settings:
PS C:\> Get-AzurePublishSettingsFile
and import them:
PS C:\> Import-AzurePublishSettingsFile [YourPublisherFilePath]
Now, lets upload our vhd file:
PS C:\> Add-AzureVhd -Destination https://[YourBlobStorageNameFromThePortal].blob.core.windows.net/vhds/FedoraCloud22.vhd -LocalFilePath [PathToDownloadedVHDImage]
After this is done, and it can take a while depending on your upload speed since the image is around 800MB, you will create the virtual drive:
PS C:\> Add-AzureDisk -DiskName “Fedora22Cloud” -MediaLocation “https://[YourBlobStorageNameFromThePortal].blob.core.windows.net/vhds/FedoraCloud22.vhd” -OS “Linux” -Label “Fedora 22 - Cloud”
And when this is done, you’re all set!
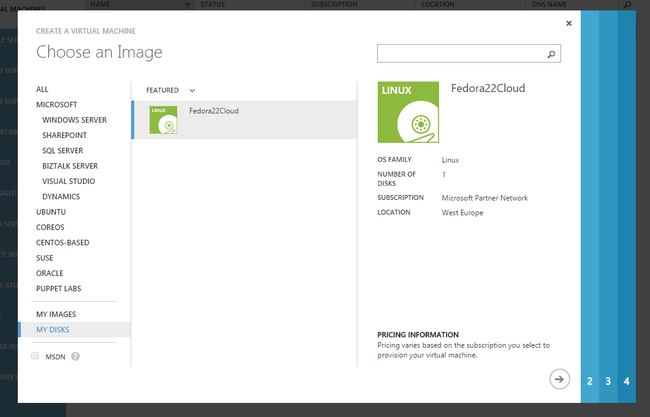
Now, you’re gonna have to use the “old” Azure portal, and not the newer “preview” one to create your VM. Just choose to create it from gallery and then on the left side there is my disks where your Fedora Cloud image is.
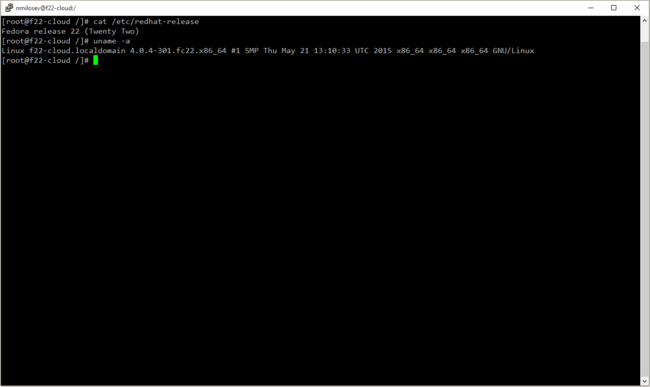
After that you can SSH into it with PuTTY or your favorite SSH client. The port is 22, and the address is the DNS name which you chose during the VM creation process (something.cloudapp.net).
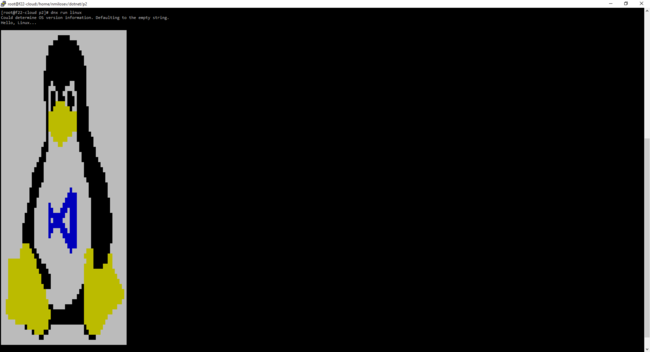
And here you can see the latest .NET Core running like a charm.
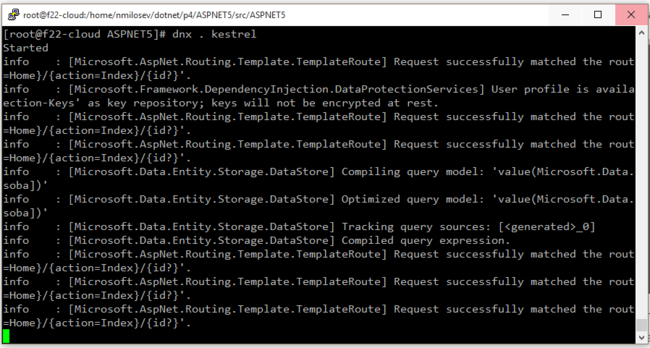
Also, kestrel works great and you can map port 80 to port 5000 for domain access!
Hope this helps you and have fun! You can find me on Twitter if you need any help, and big thanks to dustymabe on Github for the excellent script and of course to Fedora and Microsoft!


